Dimensional Control & Tolerances
Part of SGH Technical Resource Centre
As a UK injection moulding manufacturer, SGH controls dimensional tolerances through structured tooling design, validated process control and lifecycle monitoring. Injection moulding tolerances are the result of a controlled system, not just a machine setting.
At SGH, dimensional accuracy is achieved through disciplined DFM, precise tool design, validated processing parameters and structured maintenance. While tolerances such as ±0.1 mm are achievable in many applications, this page explains the factors that truly determine repeatable dimensional control over the life of a tool.
Explore related content:

What Determines Tolerances in Injection Moulding?
Dimensional tolerances in injection moulding are not defined by the machine alone. They are the outcome of a controlled system that integrates design geometry, material behaviour, tool precision, processing stability and maintenance discipline.
At SGH, dimensional control is treated as a lifecycle responsibility. While tolerances such as ±0.1 mm are achievable in many applications, repeatability depends on how the tool is engineered, validated and maintained over time.
Tolerance performance must therefore be considered at the earliest DFM stage, not after production begins. Dimensional stability is directly influenced by tool design precision and cavity sizing strategy.
Typical Injection Moulding Tolerances Achievable
Injection moulding in a controlled UK manufacturing environment can typically achieve tolerances in the region of:
- ±0.1 mm for many engineering-grade applications
- Tighter tolerances where geometry, material and tool design permit
- Wider tolerances for large components or hygroscopic materials
However, tolerance capability is influenced by several variables.
At SGH, we evaluate dimensional feasibility during DFM and incorporate shrinkage factors and process stability expectations into tool design before steel is cut.
The Primary Factors Affecting Dimensional Stability
Tool Design and Precision
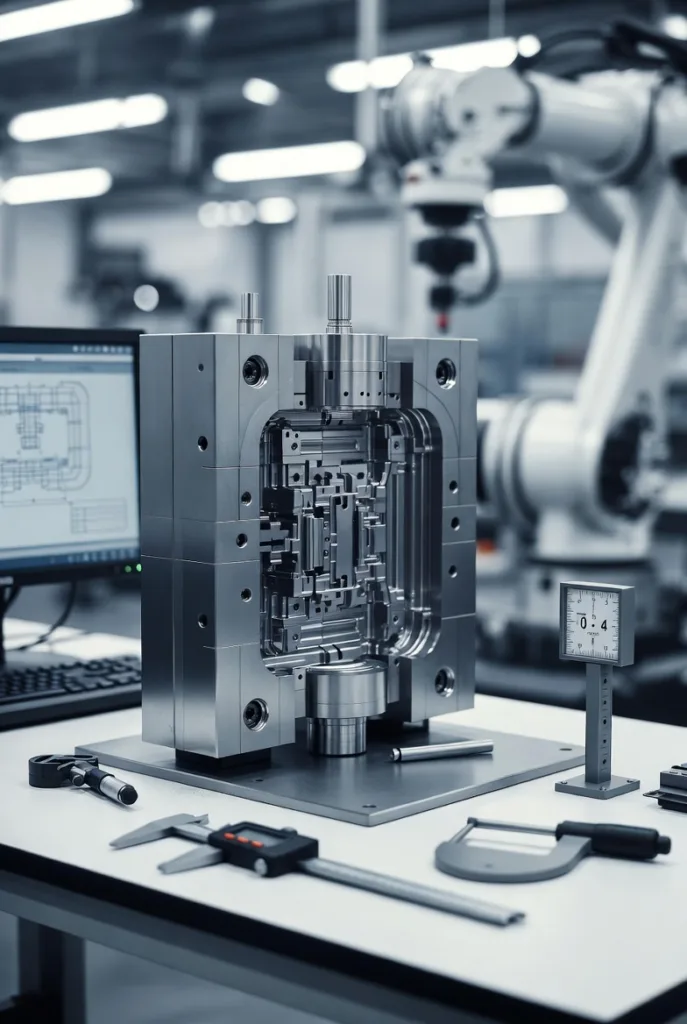
The mould tool defines the geometry of the finished component. Cavity machining accuracy, steel quality, cooling layout and parting line integrity all directly influence dimensional repeatability.
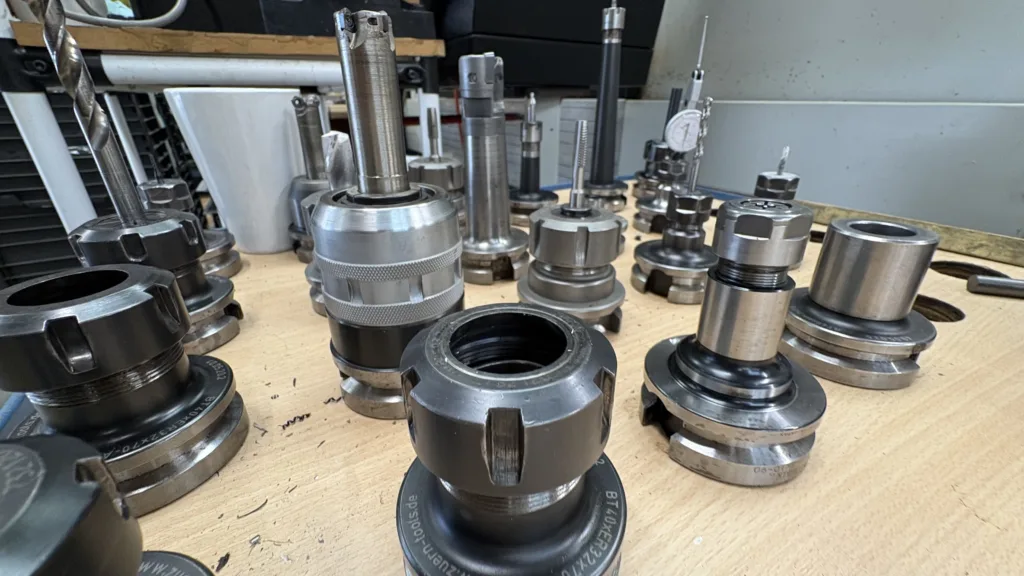
Our in-house toolroom capability, including CNC machining, EDM and manual finishing, allows us to control critical features at manufacture stage. Where tooling is produced through our overseas partnership, the same validation standards apply prior to production release.
Dimensional performance is established during initial tool trials and verified before serial production.
Material Shrinkage and Behaviour
Different polymers shrink at different rates and respond differently to thermal conditions.
For example:
- Nylon exhibits both thermal shrinkage and moisture absorption
- Glass-filled materials shrink directionally
- Polypropylene shrinkage varies by grade and filler content
- Flame retardant additives can alter flow characteristics
During DFM, we incorporate manufacturer shrinkage data and production experience to calculate cavity sizing and anticipate dimensional behaviour.
Material selection therefore plays a fundamental role in tolerance stability.
Machine Capability and Process Control
The mould tool defines the geometry of the finished component. Cavity machining accuracy, steel quality, cooling layout and parting line integrity all directly influence dimensional repeatability.
Injection pressure, holding pressure, cooling time and clamp force must remain stable across cycles.
SGH operates 25 injection moulding machines ranging from 20T to 650T. Press selection is aligned to part size and shot weight to ensure appropriate clamp stability and repeatable cycle performance.
Electric presses, such as our 650T Haitian and 350T Billion machines, provide enhanced process consistency and energy efficiency for larger components.
Hydraulic presses remain effective for many engineering applications when correctly calibrated and monitored.

Cooling and Cycle Optimisation
Cooling time is critical to dimensional repeatability. Uneven cooling can cause warpage, sink or internal stress.
Tool cooling channel design is assessed during DFM. Once in production, validated cycle parameters are locked to maintain dimensional consistency.
Where high-runner components require additional assurance, on-line vision measurement systems are being integrated from 2026 to provide automated dimensional oversight.
Tool Wear and Maintenance
Dimensional drift over time is often caused by gradual tool wear.
Typical tool life at SGH ranges between 100,000 and 150,000 cycles, though this can be extended depending on specification.
Preventative maintenance intervals are structured based on annual cycle volume:
- Under 50,000 cycles annually – service annually
- Over 50,000 cycles annually – service every six months
- Over 100,000 cycles annually – service quarterly
All services are documented and recorded on internal tool cards, ensuring dimensional stability is monitored across the tool’s lifecycle.
Dimensional Control During Tool Validation
Before serial release, all new tools undergo controlled trials.
At SGH, this includes:
- First-off sample measurement
- CMM verification of critical dimensions
- Comparison against CAD and drawing specifications
- PPAP documentation where required
Level 3 and Level 5 PPAP elements are supported depending on customer requirements.
Only once dimensional repeatability is confirmed does the component enter full production.
Dimensional Control in a High-Mix Environment
With approximately 1,000 active SKUs per year, maintaining dimensional discipline requires structured planning.
Low volume components may run in batches averaging 700 units, while higher volume parts may reach 24,000 units per batch. High-runner components account for approximately 1,000,000 units annually.
Press selection, set-up discipline and maintenance scheduling are coordinated to avoid dimensional variance between batches.
Where stockholding is used, dimensional validation is integrated into production planning to protect supply continuity.
Traceability and Data Integration
Dimensional control does not end at inspection; it depends on traceability, repeatability and measured performance over time.
At SGH, full batch traceability is currently maintained across production, linking material batch, machine allocation and tooling reference to dimensional inspection records. This ensures that tolerance performance can be reviewed against process conditions and tool status when required.
Insight123 integration, completing March 2026, will introduce barcode-driven traceability across production, strengthening real-time visibility and reducing manual handling of quality data.
From H2 2026, the SGH Client Portal will provide:
- Batch-level QC documentation
- Tool service history visibility
- Order-specific performance metrics
This structured data visibility supports dimensional stability monitoring and provides additional assurance for regulated and technically demanding sectors.
Common Causes of Dimensional Instability
In our experience, tolerance issues typically arise from:
- Insufficient draft in original design
- Inconsistent wall thickness
- Incorrect shrinkage assumptions
- Material substitution without DFM review
- Deferred tool maintenance
- Process parameter drift
Structured DFM review and preventative servicing eliminate most dimensional risk before it becomes a production issue.
Protecting Dimensional Integrity Long-Term
Dimensional accuracy is not a one-off achievement; it is maintained over the life of the tool.
At SGH, dimensional control is supported by:
- Structured DFM
- Controlled validation
- Documented tool servicing
- Integrated planning systems
- Data visibility through Insight123 and the Client Portal
This systems-based approach protects both tooling investment and supply reliability.
If your component has critical tolerance requirements, we can review drawings and advise on achievable limits, risk areas and validation strategy before tooling begins.