Tool Validation & PPAP
Part of SGH Technical Resource Centre
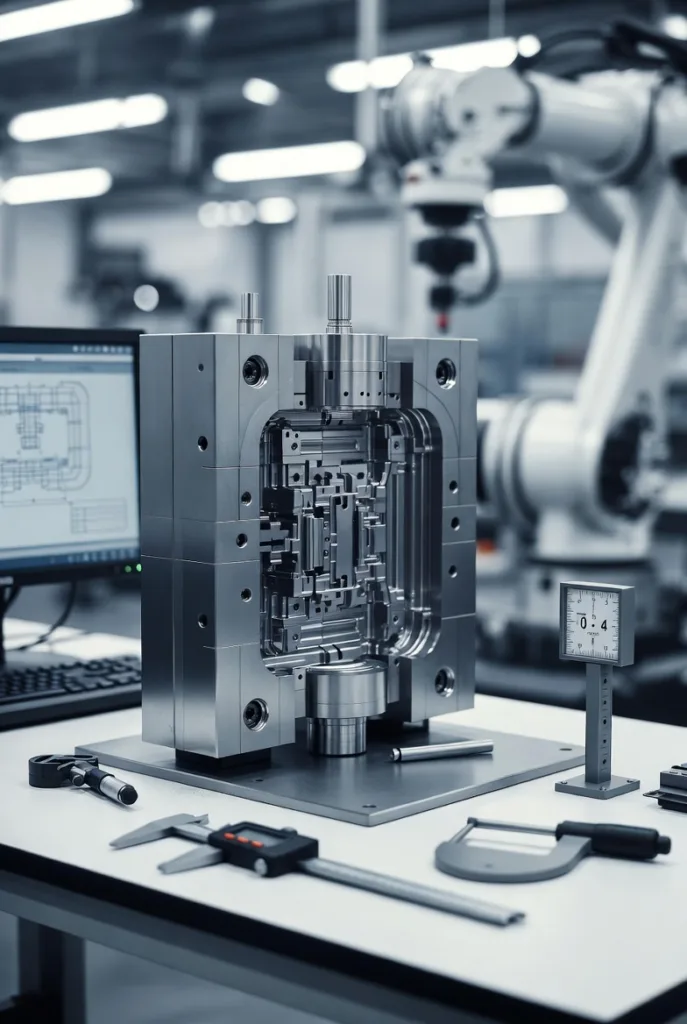
Before any injection moulded component enters serial production at SGH, it passes through a structured validation process. Controlled trials, dimensional verification and customer collaboration ensure that the mould tool performs exactly as intended. We support formal PPAP submissions where required, providing documented evidence that the process is stable, traceable and production-ready.
Explore related content:

What Is Tool Validation in Injection Moulding?
Tool validation is the structured process of proving that a mould tool can produce components that meet dimensional, cosmetic and functional requirements consistently before serial production begins. Validation confirms that tool design and engineering deliver repeatable dimensional accuracy.
At SGH, validation is not a box-ticking exercise. It is a controlled engineering stage that protects both the tooling investment and the long-term supply chain.
Every new mould tool, whether manufactured in-house or through our established overseas partnership, undergoes structured trial and verification prior to release.
What Is PPAP in Injection Moulding?
PPAP (Production Part Approval Process) is a structured validation framework used in regulated and automotive sectors to confirm that a manufacturing process can consistently produce components meeting specification. In injection moulding, PPAP typically includes dimensional reports, material certification, process documentation and approved sample parts. At SGH, PPAP documentation is aligned to customer level requirements and integrated with our structured validation trials.
Why Validation Is Critical
Without formal validation, production risk increases significantly.
Unvalidated tooling can lead to:
- Dimensional instability
- Cosmetic inconsistency
- Tolerance drift under production pressure
- Tolerance drift under production pressure
- Early tool wear
Early-stage corrections are materially less expensive than post-production rework or field failures.
Validation protects:
- Brand reputation
- Delivery performance
- Regulatory compliance
- Long-term cost control
The SGH Validation Process
Validation at SGH integrates tool trial, dimensional inspection and documentation.
Unvalidated tooling can lead to:
Initial Tool Trial
Once tooling is manufactured and assembled, a controlled trial is conducted on a suitable press within our 20T–650T fleet.
During this stage we:
- Establish preliminary processing parameters
- Assess material flow and gate performance
- Evaluate surface finish
- Review part ejection and cooling stability
Adjustments are made before dimensional approval proceeds.
Dimensional Verification
Critical dimensions are verified using:
- CMM inspection
- Manual precision measurement
- Comparative CAD review
First-off samples are measured against drawing tolerances and CAD geometry. Where tolerances are tight, repeat sampling is conducted to confirm process stability.
Only once dimensional repeatability is established does the tool progress to the next stage.
Cosmetic and Functional Review
Where relevant, validation also includes:
- Surface finish inspection
- Assembly fit confirmation
- Functional testing
This is particularly important for components integrated into regulated or medical-adjacent assemblies.
PPAP Support for Injection Moulding Projects
For customers operating within automotive, medical or structured OEM supply chains, we support PPAP requirements as needed.
SGH can provide:
- Level 3 PPAP documentation
- Level 5 PPAP elements where contractually required
- ISIR documentation
- Material certification
- Dimensional reports
- Process flow documentation
- Control plans
The level of documentation is aligned to the customer’s sector and risk profile.
Validation in a High-Mix Environment
With approximately 1,000 active SKUs annually, validation discipline must be consistent and structured.
Even low-volume components undergo controlled sign-off before serial release. For high-runner components, validation may include:
- Multiple sampling rounds
- Process window confirmation
- Repeatability testing across cycles
This protects dimensional consistency across varied production frequencies.

Overseas Tooling and Validation Risk
Where tooling is manufactured overseas, validation becomes even more critical.
Potential risks include:
- Dimensional deviation requiring modification
- Extended lead times for tool adjustment
- Increased carbon impact from re-shipment
- Reduced flexibility during engineering change
During DFM and commercial discussion, we outline validation implications clearly so clients understand both cost and timeline exposure.
All overseas tools undergo the same structured validation process before serial production begins at SGH.
Validation and Tool Lifecycle Integration
Validation does not end once production begins.
Tool performance is monitored through:
- Batch-level inspection
- Scheduled preventative servicing
- Tool card documentation
Service frequency is aligned to annual cycle volume, ranging from annual servicing to quarterly inspection for higher cycle tools.
This ensures that validation standards are maintained over time rather than achieved once and forgotten.
Data Integration and Transparency
Insight123 integration, completing March 2026, strengthens validation traceability across production.
From H2 2026, the SGH Client Portal will provide visibility of:
- Batch-level QC documentation
- Tool service history
- Production performance metrics
This allows customers to review validation and lifecycle performance in a structured, transparent environment.
Common Validation Pitfalls
Across the industry, common validation weaknesses include:
- Incomplete dimensional sampling
- Lack of repeatability confirmation
- Tool sign-off without process stability testing
- Inadequate documentation retention
- Delayed corrective action
At SGH, structured validation protects against these risks and ensures controlled progression to serial manufacture.
Transition to Serial Production
Once dimensional, cosmetic and functional criteria are met, the tool enters controlled serial production. Serial production does not begin until dimensional capability and process stability are demonstrated and documented.
Process parameters are locked, and batch-level inspection procedures are implemented.
Where JIT or safety stock programmes operate, validation outcomes feed directly into warehousing and supply planning to ensure dimensional consistency across shipments.
To understand how validation, dimensional verification and structured governance are delivered within our production environment, see our Validation, Quality Systems & Regulated Manufacturing services.
These processes support customers operating in regulated, industrial and defence-adjacent supply chains.
If your project requires formal PPAP documentation or controlled tool validation prior to serial release, we can align our validation process to your sector standards and risk profile.